Create a cube and under its history change the subdivisions (X, Y, Z) to 2.
 |  |
Create a curve (path) for the extrusion to follow.
You have the choice of using the CV Curve Tool or The EP Curve Tool. There are some minor differences, but the end result is a “Curve”.
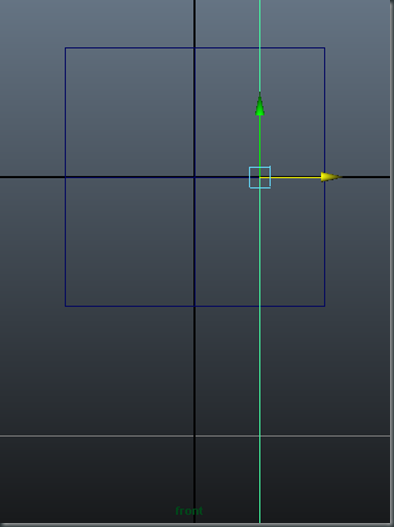
It is best to draw the curve in one of the orthographic views. Let’s use the side view this time. I drew it starting from the center of the upper half of the cube in the side view.

In the front view I moved it in the X-direction to the center of the right side of the cube.

It should look like it coming out from one of the faces.

Select the face of where you want to extrude and then select the curve then extrude. Edit Mesh > Extrude.

In the history, change the divisions and the taper.

I changed the divisions to 70 units.


Change the taper and add twist.
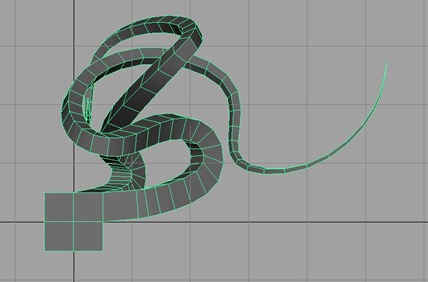
Intertwine the two extrusions. Repeat this 3 more times and then you will have four extrusion from one block.
It could look something like this, but with four or more extrusions . . .


Post in your blog titling it Extrude Along Path